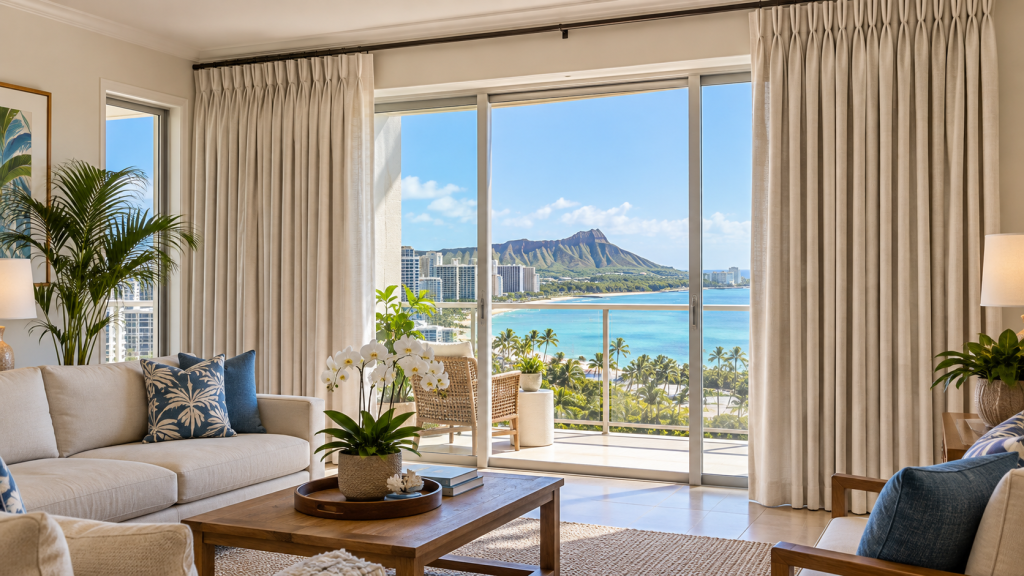


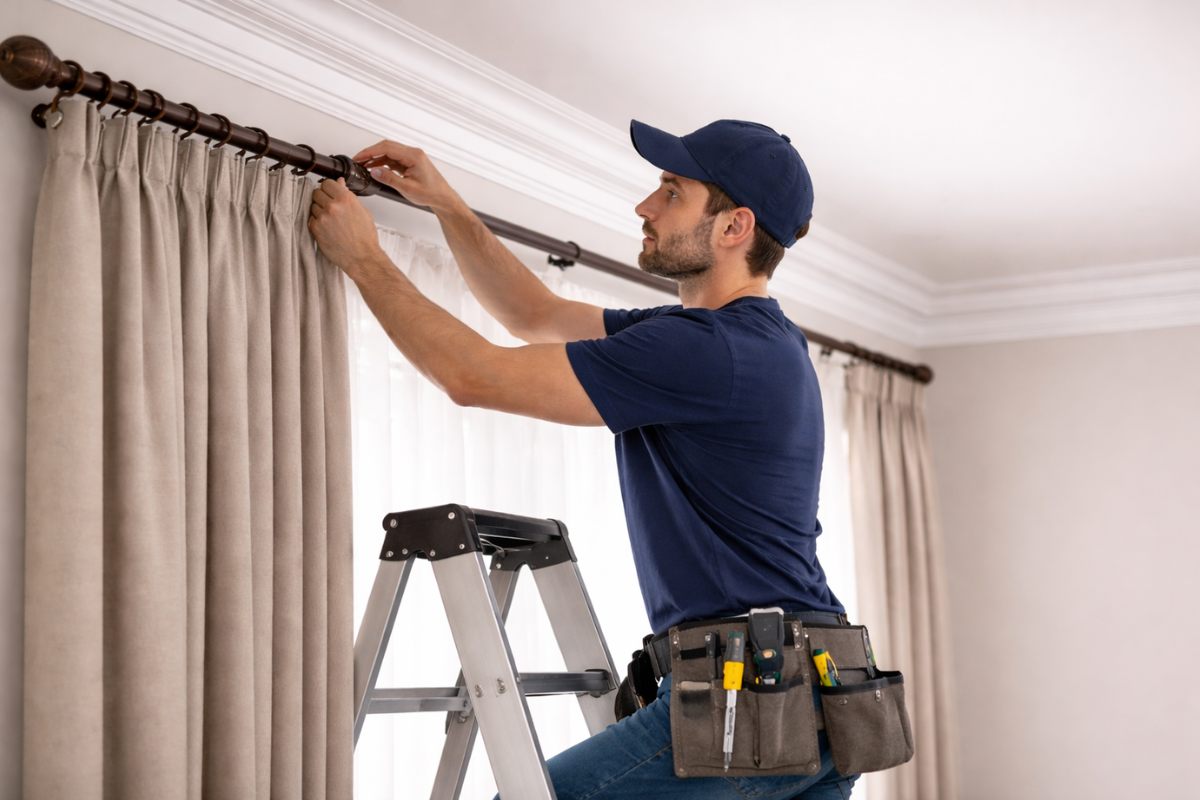
Installing custom drapery can dramatically improve the appearance, comfort, and functionality of any room. However, even the highest-quality fabrics and hardware cannot compensate for incorrect measurements. Accurate window measurements ensure your drapes hang properly, provide adequate coverage, and enhance the overall interior design.
This guide explains how to measure windows correctly for custom drapery installation step by step so you can achieve professional-looking results.
Why Accurate Measurements Matter for Custom Drapery
Before ordering custom drapery panels, taking correct measurements is essential because it:
- Ensures proper light control and privacy
- Prevents panels from appearing too short or too narrow
- Supports correct hardware positioning
- Improves visual balance and symmetry
- Reduces costly ordering mistakes
Accurate measuring is the foundation of a successful installation.
Tools You Need Before Measuring
Prepare the following tools before starting:
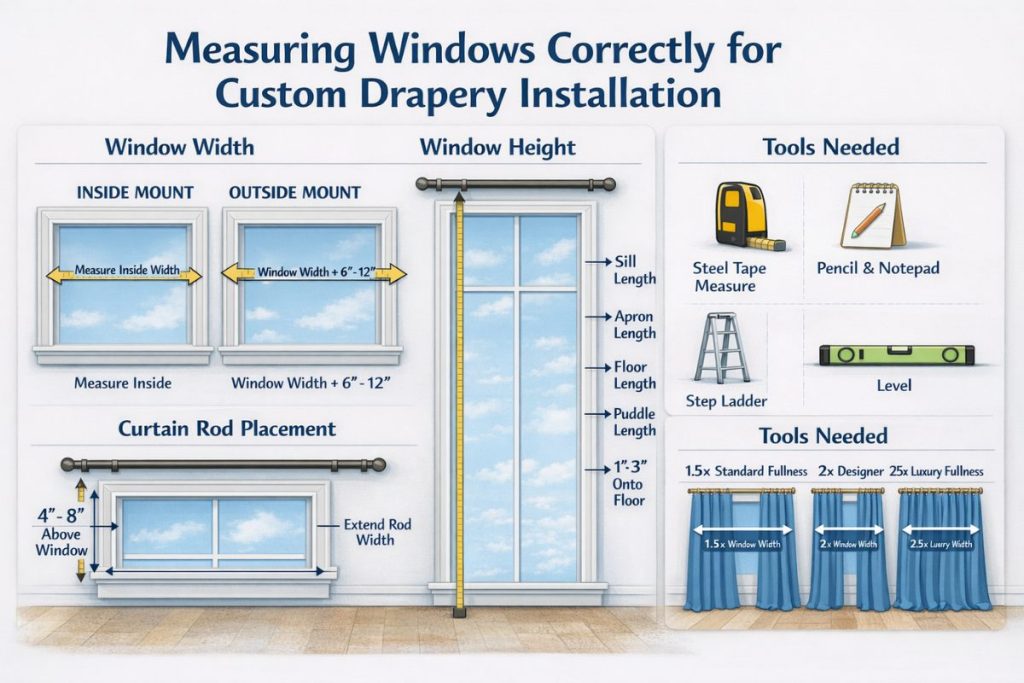
- Steel measuring tape
- Pencil and notebook (or phone notes)
- Step ladder (if windows are tall)
- Level (recommended for rod alignment)
Using proper tools helps improve measurement accuracy and installation precision.
Step 1: Measure Window Width Correctly
Window width determines how full your drapery panels will appear once installed.
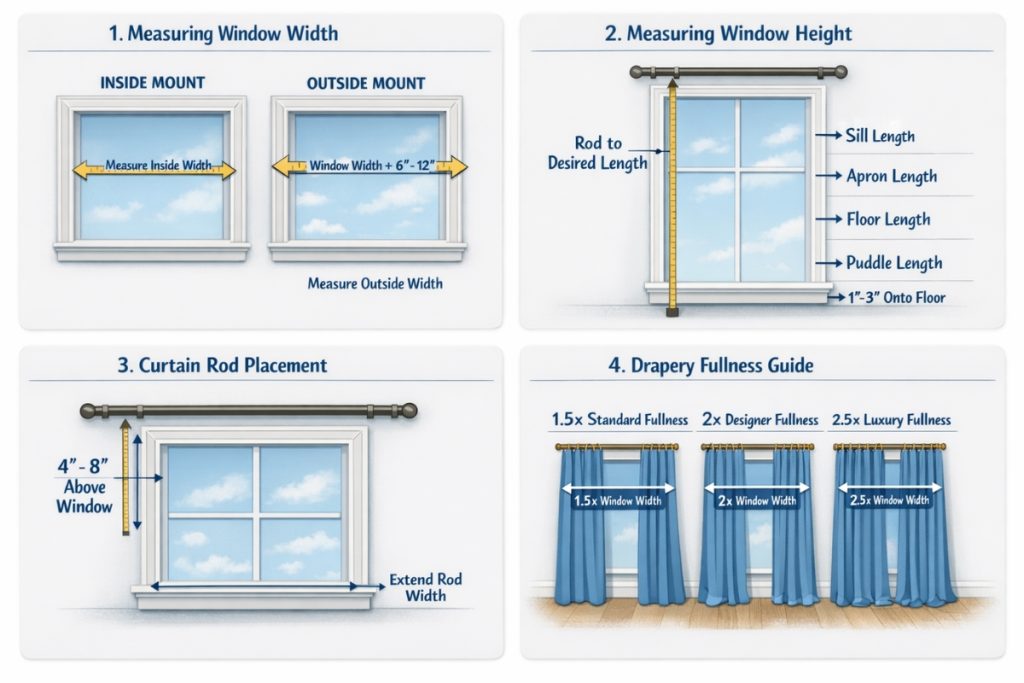
Inside Mount Width Measurement
If installing inside the window frame:
Measure three locations:
- Top width inside frame
- Middle width inside frame
- Bottom width inside frame
Use the smallest measurement for accuracy.
Outside Mount Width Measurement
For outside mount drapery:
Measure the total window frame width and add:
3–6 inches on each side
This allows panels to:
- Block more light
- Improve privacy
- Create a fuller decorative appearance
- Make windows appear wider
Outside mounting is the most common method for decorative custom drapery.
Step 2: Measure Window Height Accurately
Height measurement determines where the drapery will end and how elegant it appears.
Measure from:
Curtain rod position to desired curtain length
Common drapery length options include:
Sill Length
Ends at the window sill. Best for kitchens and bathrooms.
Apron Length
Ends slightly below the sill. Suitable for casual spaces.
Floor Length
Ends about ½ inch above the floor. Most popular for living rooms and bedrooms.
Puddle Length
Extends 1–3 inches onto the floor. Ideal for decorative and luxury interiors.
Mounting rods slightly higher than the window frame can make ceilings appear taller.
Step 3: Measure for Curtain Rod Placement
Rod placement significantly affects how your drapery looks after installation.
Standard placement guidelines include:
- Extend rod 3–6 inches beyond the window frame on both sides
- Install rod 4–8 inches above the window frame
- Ensure rod alignment is level across the wall
Proper placement:
✔ Improves natural light exposure
✔ Makes windows appear larger
✔ Enhances room proportions
Correct rod positioning is one of the most important visual upgrades in custom drapery installation.
Similar link: Dining Room Curtain Length Trends for Modern Homes
Step 4: Account for Drapery Fullness
Custom drapery panels should be wider than the window itself to create soft folds and a professional finish.
Typical fullness recommendations:
- Standard fullness: 1.5× window width
- Designer fullness: 2× window width
- Luxury fullness: 2.5× window width
Example:
If your window width is 60 inches:
Recommended fabric width = 90 to 150 inches total
Your installer or fabric provider usually calculates this automatically, but understanding fullness helps you plan better.
Step 5: Consider Mounting Style Before Ordering
Measurement requirements vary depending on whether you choose inside or outside mounting.
Inside Mount Drapery
Best suited for:
- Minimalist interiors
- Recessed window frames
- Layered window treatments
Requires precise frame measurements.
Outside Mount Drapery
Best suited for:
- Decorative installations
- Improved light blocking
- Covering uneven frames
- Making windows appear larger
Most homeowners choose outside mount for custom drapery installations.
Step 6: Measure Each Window Individually
Even if multiple windows look identical, never assume they are the same size.
Always measure each window separately because:
- Construction tolerances vary
- Frames may differ slightly
- Floors may not be perfectly level
- Ceiling heights may change across rooms
Individual measurements ensure balanced drapery alignment.
Read More: Are Mecho Shades Worth the Investment for Residential Spaces?
Step 7: Record Measurements Clearly
Use a structured format like this:
Width: ______ inches
Height: ______ inches
Mount type: Inside / Outside
Rod placement height: ______ inches
Desired curtain length: Floor / Sill / Apron / Puddle
Clear documentation prevents ordering errors later.
Common Measuring Mistakes to Avoid
Avoid these frequent issues:
- Measuring only once instead of twice
- Forgetting rod extension beyond the frame
- Ignoring mounting height
- Using flexible cloth tape instead of steel tape
- Assuming all windows are identical
Double-checking measurements helps ensure professional installation results.
When to Consider Professional Measurement Services
Hiring a professional measurement service is recommended if:
- Installing ceiling-mounted drapery
- Covering wide patio or sliding doors
- Ordering premium custom fabrics
- Designing layered treatments
- Installing pleated drapery panels
Professional measurements reduce risk and improve final appearance.
Final Thoughts
Measuring windows correctly is the most important step in successful custom drapery installation. Accurate width, height, rod placement, and fullness calculations ensure your drapes hang beautifully and function properly.
Taking the time to measure carefully helps you achieve a polished, designer-quality result that enhances both comfort and style in your space.
Planning drapery for your home?
Order custom drapery made to your measurements in five easy steps, or request fabric swatches to see and feel them first.